cooperative partner
合作伙伴
NEWS
新聞中心 092022-10 戶外拓展培訓(xùn)的具體意義是什么呢?
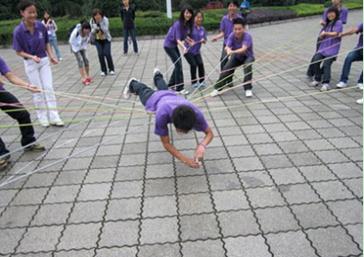
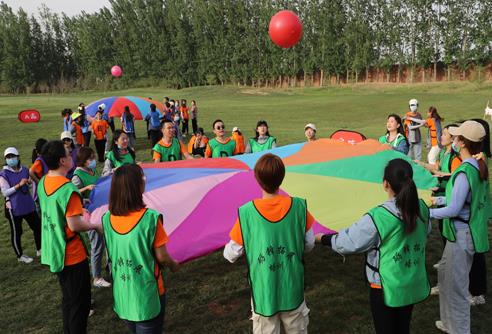
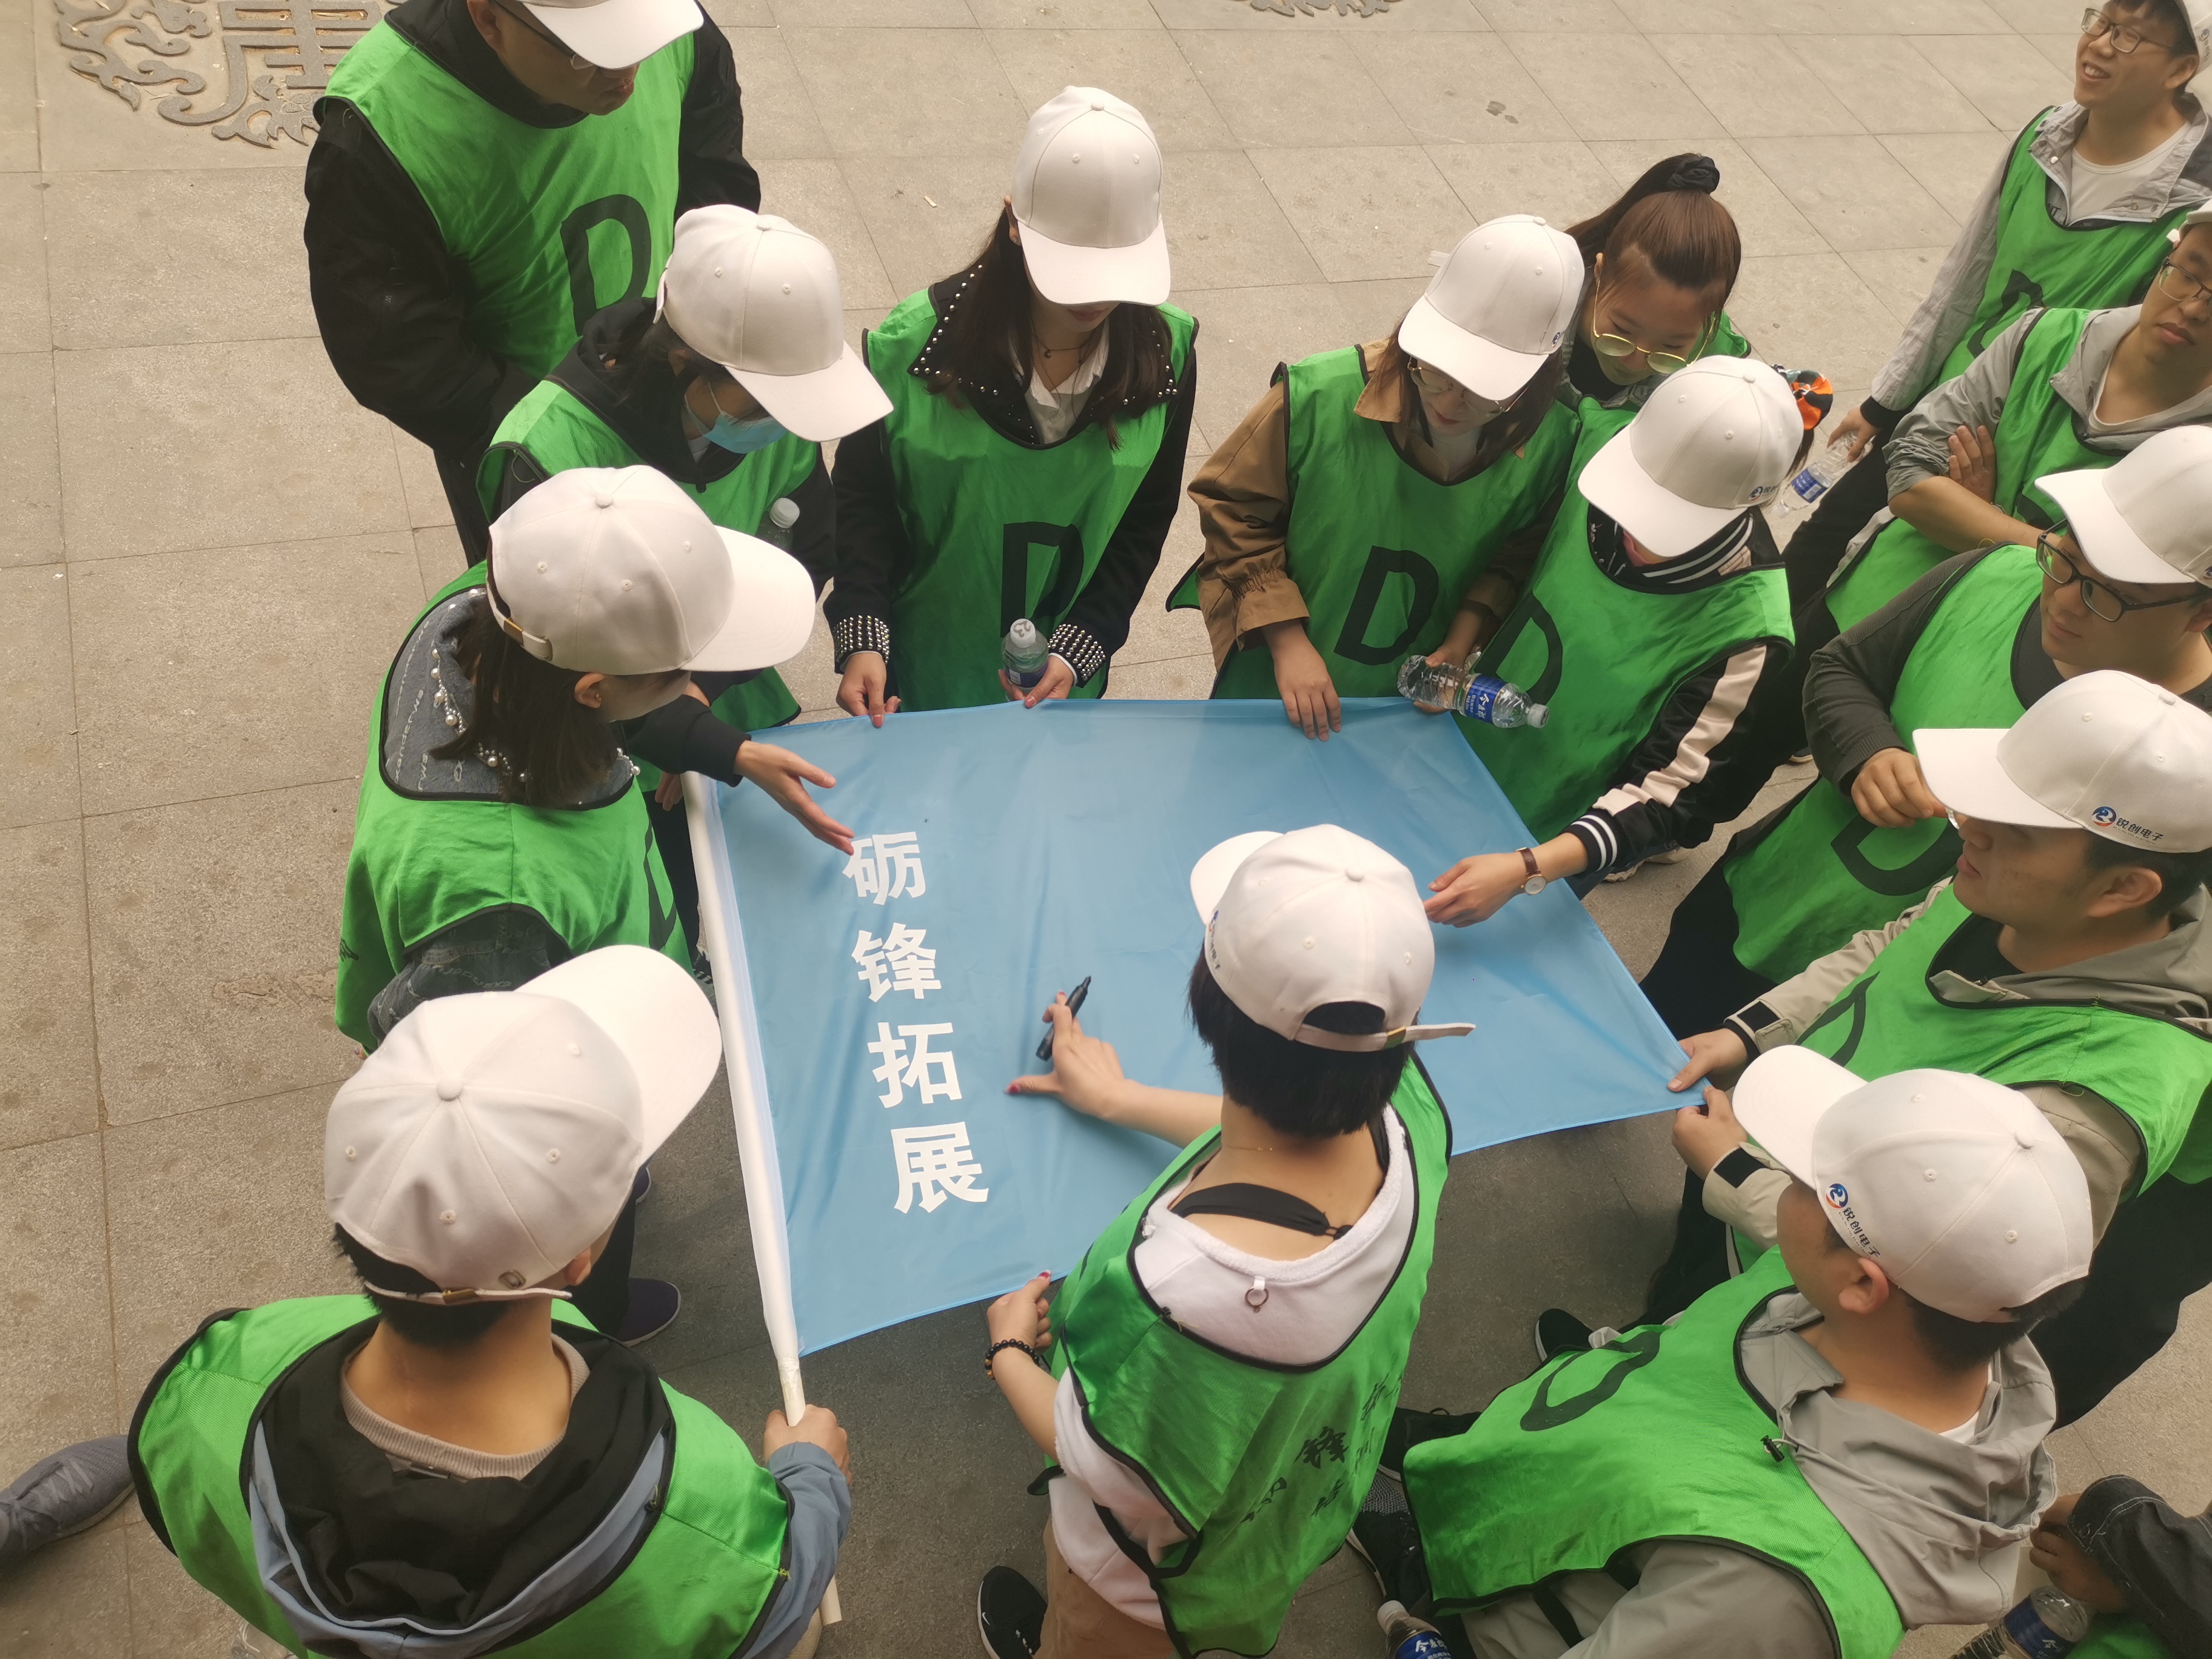
戶外拓展培訓(xùn)可以增強團隊合作精神,訓(xùn)練內(nèi)容豐富生動,寓意深刻,以體驗啟發(fā)作為教...
 232022-09 定向團建訓(xùn)練對不同社會群體的意義
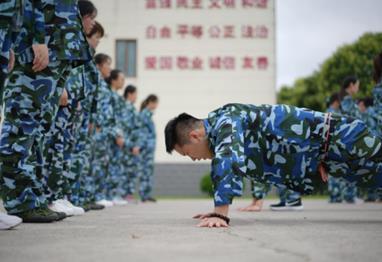
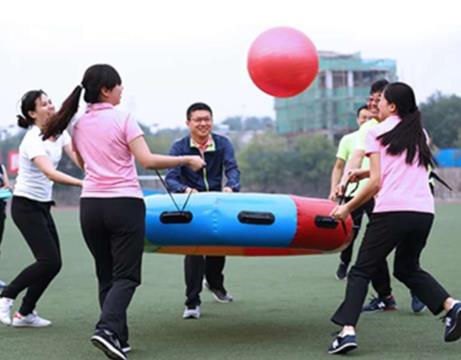
一、企業(yè):定向拓展訓(xùn)練是一種能夠打造優(yōu)秀團隊的項目。 1. 首先,定向拓展訓(xùn)...
 142022-09 拓展培訓(xùn)的價值不可估量!
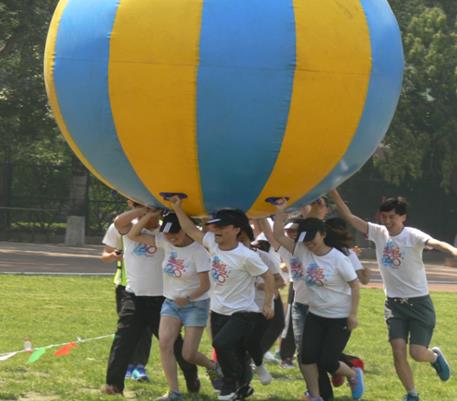
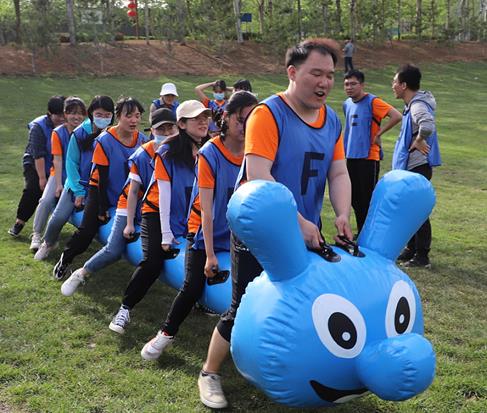
現(xiàn)今社會不僅僅需要儲備技能和知識的人才,更需要有良好心理素質(zhì)的人才,公司HR或...
 062022-09 如何選擇評估一個專業(yè)拓展培訓(xùn)機構(gòu)?
1、是否有國家權(quán)威機構(gòu)的資格認證,營業(yè)執(zhí)照范圍內(nèi)是否有拓展培訓(xùn)內(nèi)容,能否開具拓...
012022-09 團隊團戰(zhàn)和野外拓展培訓(xùn)的意義有哪些
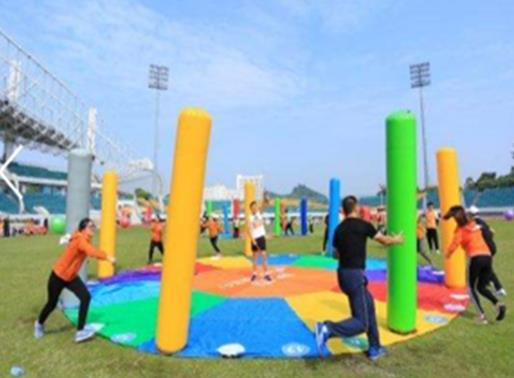
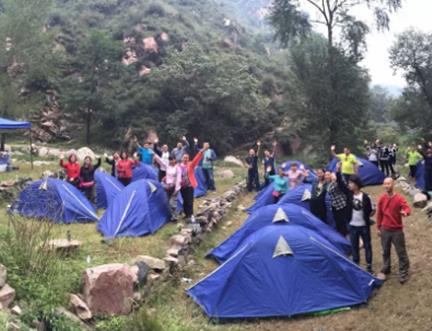
團隊團戰(zhàn)培訓(xùn)給參與者留下深刻印象,相互思想的出發(fā)點是互補的。這一成功來自于消防...
 252022-08 野外拓展培訓(xùn)的意義有哪些
團隊團戰(zhàn)培訓(xùn)給參與者留下深刻印象,相互思想的出發(fā)點是互補的。這一成功來自于消防...
全國服務(wù)熱線
13833192727
手 機:13833193977
地 址:石家莊新華區(qū)鐘南路6號

Copyright ? 2021 石家莊市礪鋒戶外運動服務(wù)有限公司 版權(quán)所有 Powered by EyouCms 備案號:冀ICP備19028501號-2

13833193977